React Native + Expoを使ったカメラ機能実装を前回の記事で行いました。
今回は撮影した写真を端末に保存する処理を追加します。
Source
端末のフォルダに写真を保存するには、CameraRoll.saveToCameraRoll()を利用します。
import { CameraRoll } from 'react-native';
...
let uri = [写真のURI];
CameraRoll.saveToCameraRoll(uri);
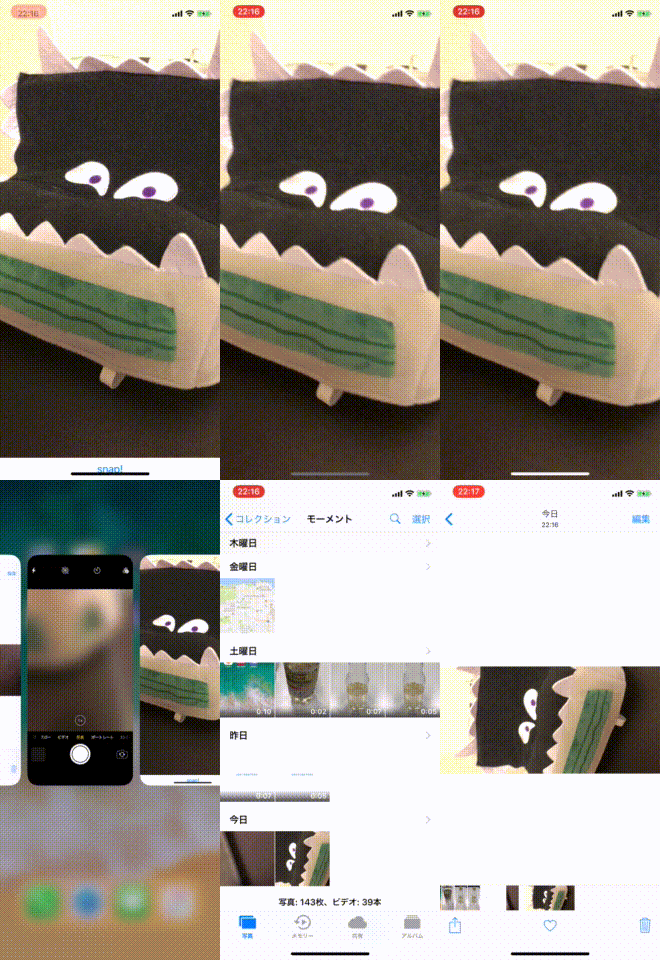
以下、カメラを撮影してから写真を保存するまでのコードです。
カメラを撮影してプレビュー後、三秒後にプレビューを閉じて写真を保存します。
import React from 'react';
import { Text, View, Button, Modal, Image, CameraRoll } from 'react-native';
import { Camera, Permissions } from 'expo';

export default class CameraView extends React.Component {
  state = {
    hasCameraPermission: null,
    type: Camera.Constants.Type.back,
    photo: null
  };

  async componentWillMount() {
    const { status } = await Permissions.askAsync(Permissions.CAMERA);
    this.setState({ hasCameraPermission: status === 'granted' });
  }

  setPhoto(photo) {
    this.setState({ photo: photo });
  }

  render() {
    const { hasCameraPermission } = this.state;
    if (hasCameraPermission === null) {
      return <View />;
    } else if (hasCameraPermission === false) {
      return <Text>No acess to camera</Text>;
    } else {
      return (
        <View style={{ flex: 1 }}>
          <Camera style={{ flex: 1 }} type={this.state.type} ref={cam => { this.camera = cam; }} />
          <Button style={{ flex: 1 }} title="snap!" onPress={photo => {
            if (this.camera) {
              this.camera.takePictureAsync().then(photo => {
                // カメラオブジェクト取得
                this.setPhoto(photo);
                // 三秒後にモーダルを閉じる
                setTimeout(() => {
                  this.setPhoto(null);
                  // 写真を保存
                  CameraRoll.saveToCameraRoll(photo.uri);
                }, 3000);
              });
            }
          }} />
          <Modal
            animationType="slide"
            visible={this.state.photo !== null}
            onRequestClose={() => {
              alert('Modal has been closed.');
            }}>
            <Image style={{ width: "100%", height: "100%" }}
              source={{ uri: this.state.photo === null ? "" : this.state.photo.uri }}/>
          </Modal>
        </View>
      );
    }
  }

}
Demo
